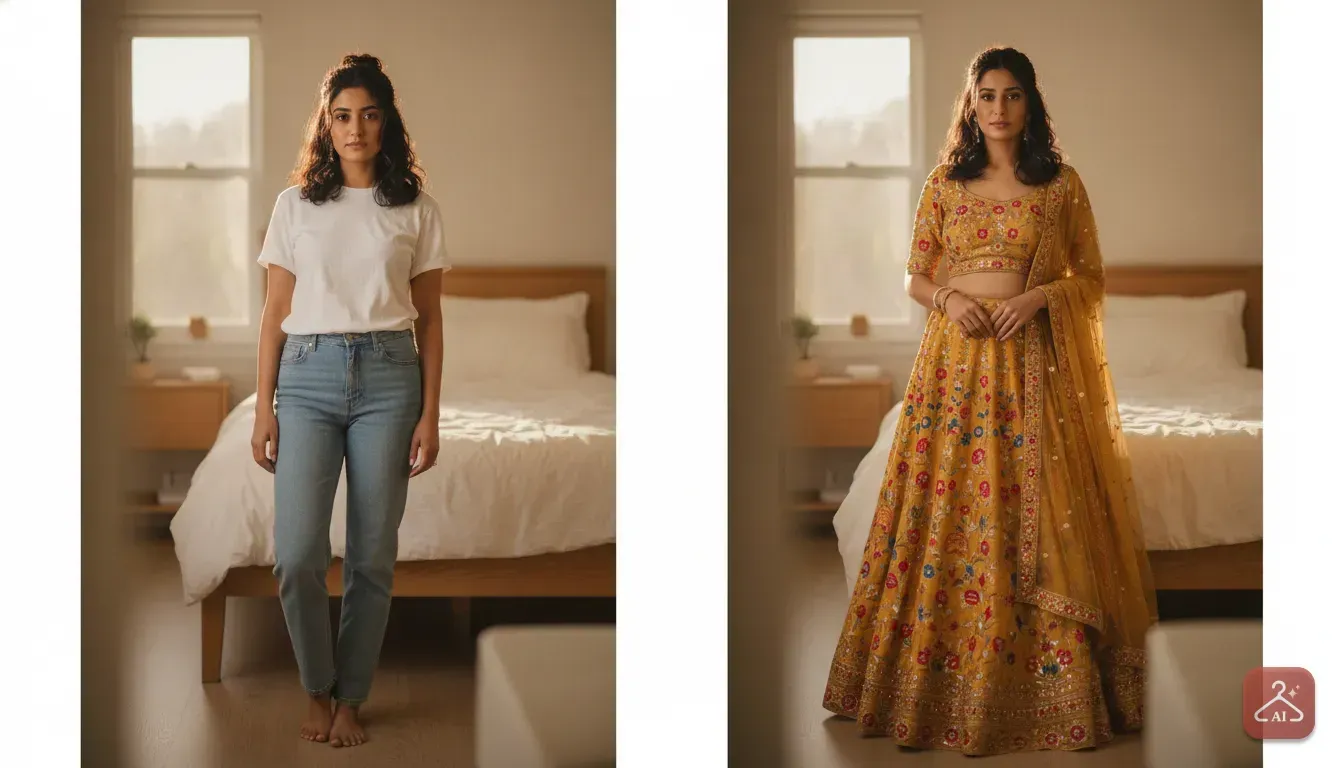
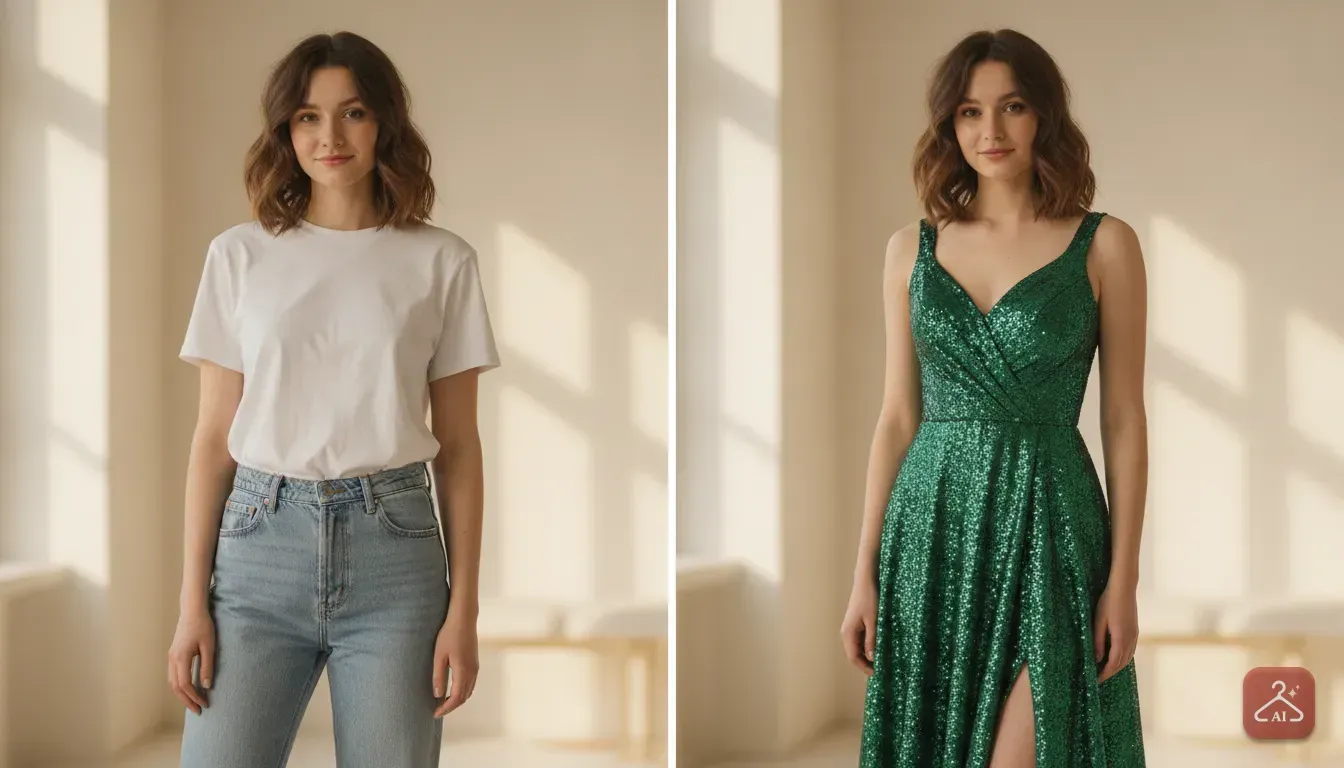
How to Turn Mannequin Pictures into an AI Model Photoshoot for Clothing Sellers
Learn how to transform your basic mannequin clothing photos into professional, styled model shots using AI.
 DevForge Studio
6 min read
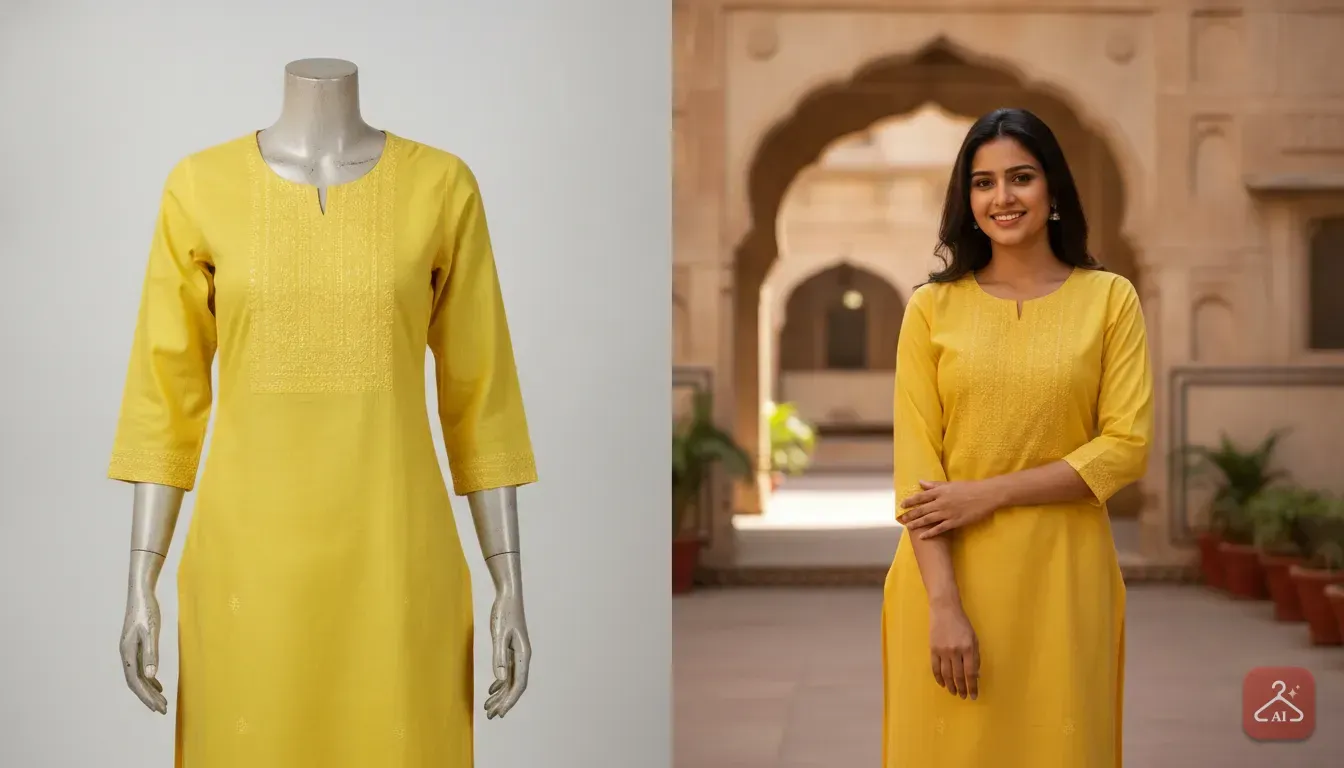
If you sell clothes online, you already know flat lays and plastic mannequins don't get the same clicks as a real model. Buyers want to see how a dress drapes, how a kurti fits the shoulders, and how a saree falls before adding it to their cart. But hiring models, booking a studio, and paying a photographer costs thousands of rupees for a single collection.
We have a better way for small business owners and boutique runners. We'll show you How to Turn Mannequin Pictures into an AI Model Photoshoot for Clothing Sellers using just your phone. This method saves money, speeds up your listings, and gets you catalogue images that actually sell inventory.
Why Buyers Scroll Past Mannequin Photos
Online shoppers rely completely on your images to buy. A plastic mannequin lacks shape, movement, and human curves. When customers see a mannequin wearing a lehenga or a party dress, they can't connect with the image.
They wonder if the outfit will look stiff or if the sizing is accurate. This uncertainty often leads to abandoned carts or high return rates.
Realistic models solve this problem by giving the clothing context. A human figure shows sleeve lengths, where the hem hits the leg, and how fabric behaves in the light.
Your main image needs to grab attention instantly on competitive platforms. A real face looking at the camera builds trust. It stops the scroll far better than a headless plastic form.
Preparing Your Mannequin Photos for AI Processing
The secret to a great AI model photoshoot starts before you open an app. AI tools are smart, but they need a clear, well-lit starting image to understand your clothing's shape and texture. If your original photo is dark or messy, the final result looks unnatural.
Perfect Your Lighting
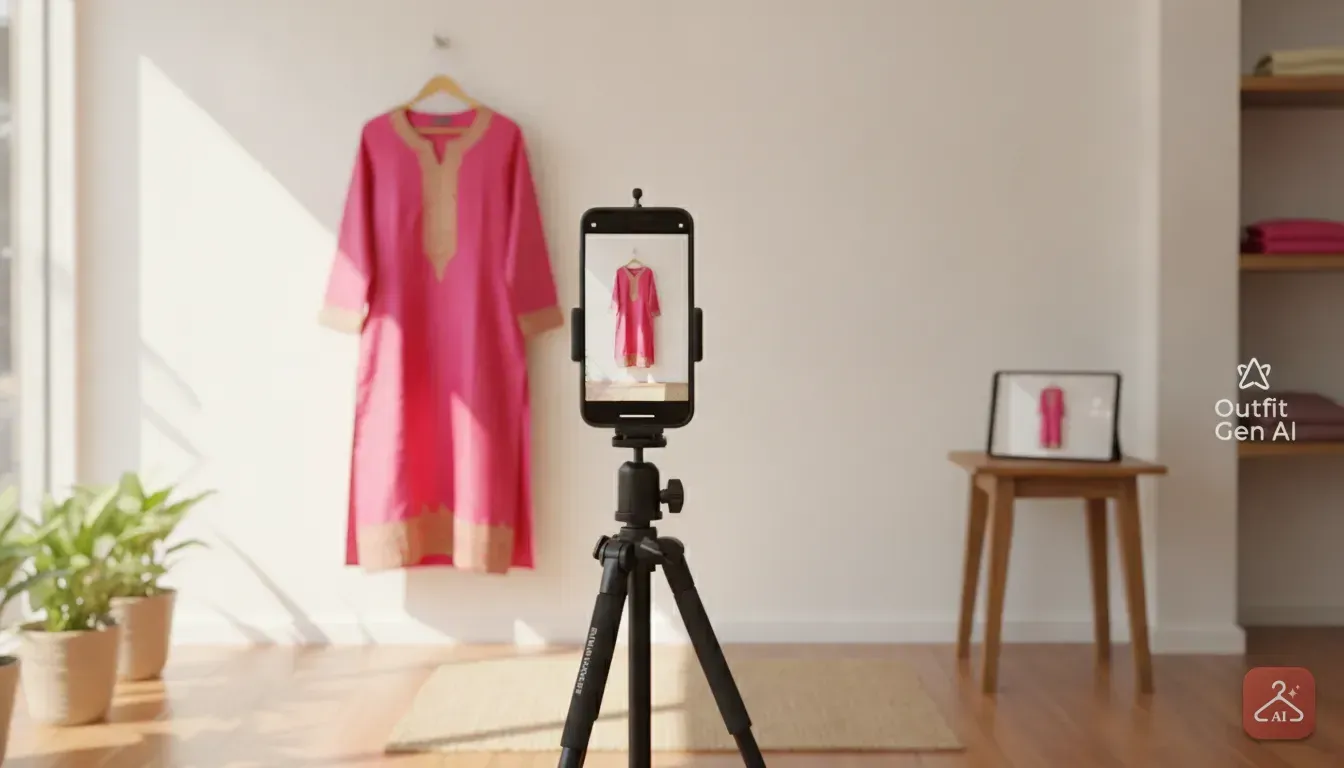
Never use your phone flash for product photos. Harsh flashes create deep shadows and change the true colour of your fabric. Instead, place your mannequin near a large window to use soft, natural daylight.
If you shoot at night, use two simple ring lights or softboxes. Place one on the left and one on the right to light the clothing evenly. We find that even lighting helps the AI read fabric patterns accurately.
Style the Garment Carefully
Make sure the clothes fit the mannequin perfectly. If the dress is too loose, clip or pin it at the back to show the intended shape.
Iron or steam the garment thoroughly. Wrinkles in the original photo confuse the AI and often remain in the final image, making your product look cheap. Make sure the neckline and sleeves sit symmetrically.
Use a Clean Background
Place your mannequin against a plain wall. White, light grey, or beige backgrounds work best.
Cluttered backgrounds with clothes racks or shop furniture make it very hard for the AI to separate the clothing. A clean background guarantees a sharp, professional extraction.
Step 1: Extracting the Outfit
Before the AI puts a human model into your clothing, it needs to isolate the garment. You don't want the plastic neck or wooden arms of the mannequin showing up in your final picture. You must turn the raw photo into a clean product image first.
Most sellers struggle with manually erasing backgrounds. If you want a fast and reliable tool, our app Outfit Gen AI is built specifically for this. It includes an Extract Outfit feature.
Simply upload your mannequin photo. The app automatically removes the background and visible mannequin parts, leaving you with a perfectly cut-out image of your clothing. This clean file forms the foundation of your catalogue shoot.
Step 2: Generating Your AI Model Photoshoot
Once you have your extracted clothing image, you're ready to create your catalogue shots. This is where you transform a basic product photo into a high-end editorial image.
In Outfit Gen AI, use the Model Photoshoot feature to do this in seconds. Here is how you set it up:
- Upload the extracted image: Start with the clean clothing file you created in the previous step.
- Pick your model: Choose a model that matches your target audience. If you sell traditional Indian wear, pick a model with styling that suits ethnic wear. If you sell western party dresses, choose a model with a sharp, modern look.
- Check the positioning: Ensure the AI maps the clothing correctly to the model's body. The app handles the heavy lifting by naturally aligning the shoulders and waist.
- Generate the shot: Tap the button to process the image. The AI blends the clothing onto the model, adding natural shadows, skin highlights, and realistic fabric drapes.
By matching the right model to your inventory, you create a consistent, professional brand image across your entire store.
Step 3: Choosing Backgrounds That Sell
The background of your product photo is just as important as the model. Different e-commerce platforms have different rules. You need to adjust your images to fit their requirements.
If you list items on major marketplaces, you often need a plain, solid background for the primary image. You can learn more about formatting these primary shots in our guide to Meesho Product Photo Ideas: Create an AI Model Photoshoot. A soft white or light grey background keeps buyers focused entirely on the product.
For Instagram, Facebook, or your website banners, lifestyle backgrounds perform much better. A lifestyle background places the model in a real-world setting, like a sunlit cafe or a modern studio set. You can use the AI Edit feature to change the background easily.
You can select pre-made templates or describe the edit in your own words. Type 'a brightly lit outdoor courtyard with green plants' to instantly transport your model to a new location.
For more detailed tips on setting up these scenes, check out our post on how to Take Product Photos for an Online Clothing Store Using AI.
Fixing Common AI Generation Mistakes
Working with AI is a skill, and sometimes the first result isn't perfect. You might see strange fabric stretching, incorrect colours, or blurry details. Here is how to fix the most common issues:
- Distorted patterns: If your saree border or kurti print looks warped, the AI likely struggled with folds in the original image. Go back to your mannequin photo, smooth out the fabric, ensure bright lighting, and extract it again.
- Weird hands or poses: AI sometimes struggles with hands overlapping the clothing. Choose a simpler, standard catalogue pose where the model's arms relax by their sides.
- Lighting mismatches: If the model looks bright but the dress looks dark, adjust your prompt. Describe the lighting clearly using words like 'studio lighting' or 'soft natural light' when generating the final image.
Getting the Final Look Ready for Your Store
The final step is ensuring your images are crisp and high-resolution. E-commerce platforms compress images when you upload them. If you start with a low-quality picture, it'll look terrible by the time it reaches your customer's screen.
Blurry textures make it hard for shoppers to see stitching quality or embroidery details. To fix this, use a 4K upscaler. In Outfit Gen AI, you can turn any result into a sharp 4K image with one tap.
This enhances fabric details, sharpens the model's face, and gives you a premium file ready for upload. Once upscaled, add your store logo or size charts to the image before publishing.
Your Next Step
You don't need an expensive camera or a large budget to create a beautiful clothing catalogue. Grab your best-selling kurti or dress, steam out the wrinkles, and take a clear photo on your mannequin near a window.
Run it through an AI model generator. Compare the result to your old listings. You'll quickly see how a realistic, styled model image grabs attention and drives more clicks to your store.
Frequently asked questions
Can I use AI to put my clothes on a realistic model?
Yes, you can use AI apps to replace a mannequin with a realistic human model. You just upload a clear photo of your clothing on a mannequin, extract the garment, and the AI will wrap it naturally onto a virtual model of your choice.
Do I need a green screen to take mannequin photos for AI?
No, a green screen is not necessary. You just need a clean, solid-coloured background like a plain white or light grey wall. This provides enough contrast for the AI to cut out the clothing accurately.
Will AI change the colour or pattern of my clothing?
If you provide a well-lit, high-quality original photo, the AI will keep your colours and patterns accurate. Poor lighting or heavy shadows in your original photo can sometimes confuse the AI, so bright, natural light is always recommended.
Are AI-generated models safe to use for commercial stores?
Yes, generating AI models for your own product listings is a safe and common practice for modern sellers. Just ensure you use a trusted tool that provides high-quality, professional results suitable for e-commerce platforms.
Try it yourself
Outfit Gen AI
See yourself in any outfit before you buy it.